How many at-home projects have you done since COVID started? Once quarantine hit house projects were all we could do to stay sane! We have tackled some smaller projects like redoing our master bedding and adding new frames (on a budget) to our dining room. We have also tackled a couple larger projects with the hopes of doing even more!
For those that are new to this space, we live in a tiny little house in a neighborhood we absolutely love. Our home is not our forever home by any means, so for the time being we are making updates as time goes on. Because I know we won’t live here for the long haul, I cannot bring myself to spend very much money on our house projects. Of course there are times we’ve hired out when projects were over our head like redoing our bathroom and updating the cabinets and countertops in our kitchen, but for the most part I am the project lead!
I love a good DIY project and with pinterest and youtube, it seems like you can quickly research how to do anything yourself. So like I said previously, once quarantine started, I embarked on our first big project – updating our deck. I absolutely love spending time outdoors and knew that with quarantine we would be outside even more than normal. A deck update seemed logical and also something I could tackle with or without the help of the hubs.
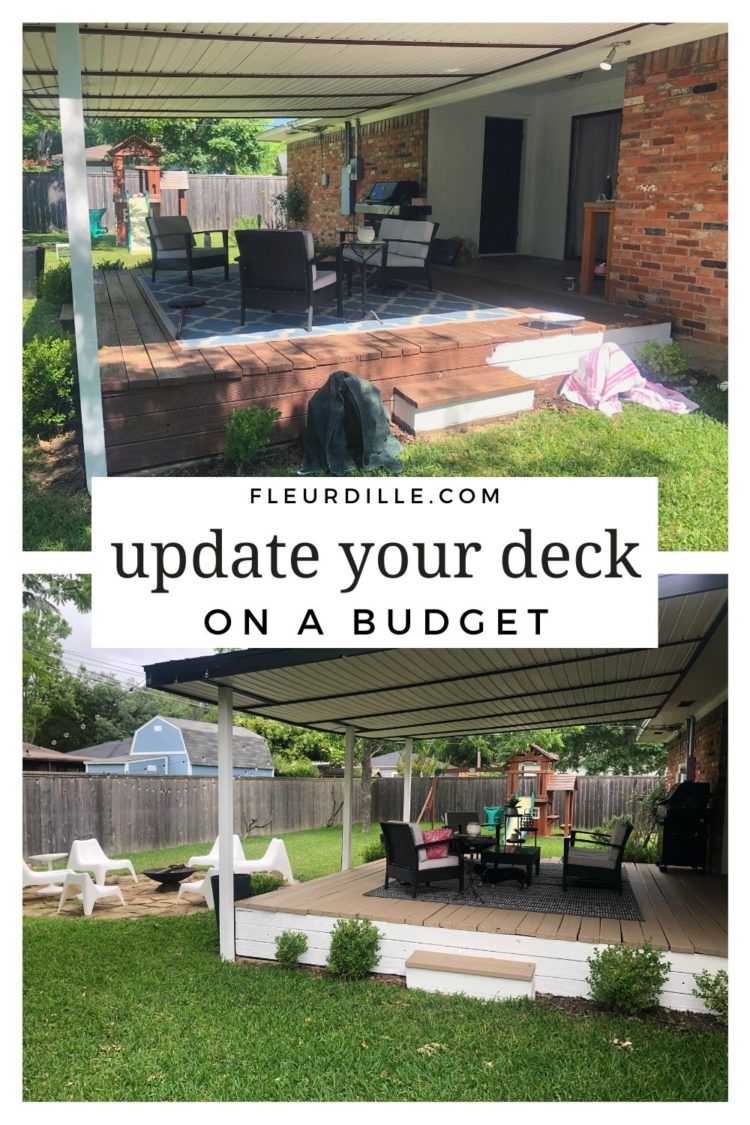
So what’s the easiest way to update your deck on a budget? Simple – paint it! That’s right, I said paint and not stain. We have stained our deck several years, but I wanted it to look brighter. I especially wanted a brighter, cleaner look because we are going to paint our house white and I just think it will all flow better.
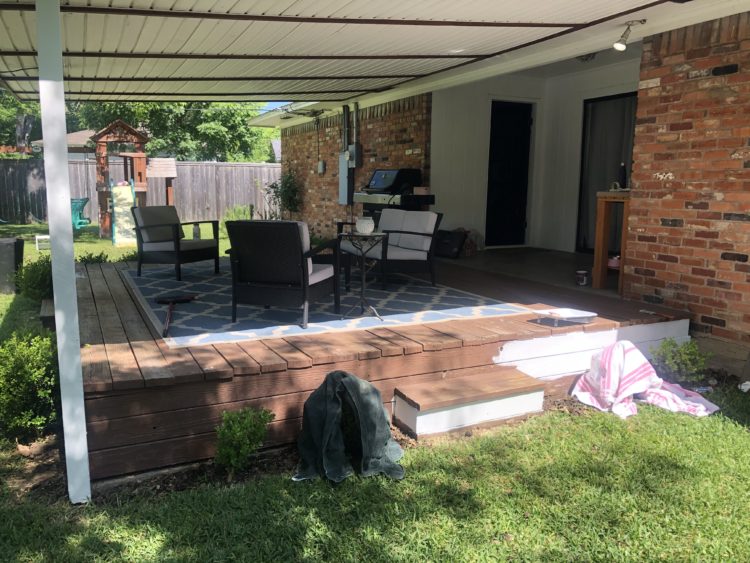
Anyway, in the picture above you can tell how much work our deck needed. The stain we had previously put on had worn off and honestly the color was a bit drab for my liking. The rug, while great in and of itself, was several years old and no longer fit with our design style. So, we cleared it off and go to work.
how to update your deck on a budget:
FIRST – POWER WASH THE DECK
Before any work can be done, you need to wash and prep your deck. For us that meant we needed to power wash the wood. If you don’t own a power washer, you can rent one for cheap at your local hardware store. We rented ours from Home Depot. Power wash the wood and eliminate any grim or rotted wood.
TIP: They will let you have a power washer for a certain amount of hours, so if you have time left use it to power wash other items that need a good cleaning like outdoor furniture and such.
SECOND – REPAIR & SAND THE DECK
Once you’ve power washed your deck, use this time to make any repairs you may have. Repairs such as replacing rotted boards or putting in new deck screws. Once you’ve made any repairs you might need to do, start sanding. I recommend using a medium-grit sandpaper. We did ours by hand and it was fine, but you could also use an electric sander.
how to update your deck on a budget:
THIRD – TAPE & PREP
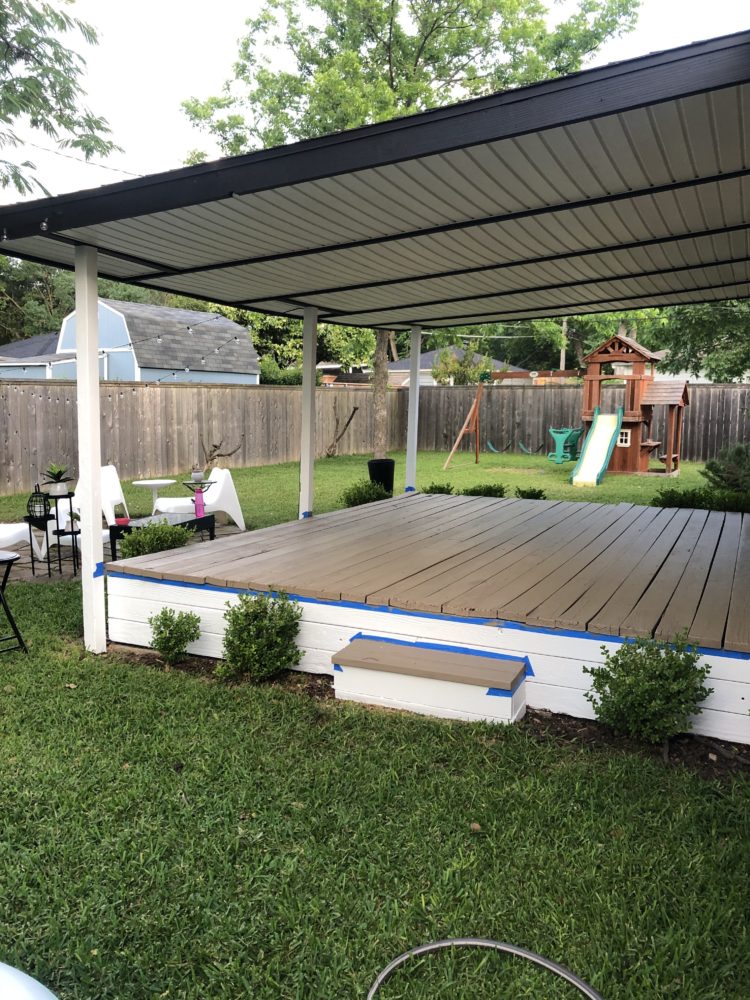
Before you start painting you need to tape and prep your area. There wasn’t a lot of taping involved in the deck, but it did require a little. We also wrapped our bushes in beach towels to not only protect the bushes, but keep them from touching the wet paint.
FOURTH – PAINT THE POSTS & THE SIDES OF THE DECK
I failed to get a picture before I painted the posts, but the first thing I did was to paint the posts and the sides of the deck. I chose to do a two tone look, but you could definitely paint it all one color. The white color I chose was BEHR ULTRA SATIN-BLOCKING PAINT & PRIMER IN ONE (color: pure white). If your wood is lighter you could get away with one coat, but because mine previously had dark stain it required two coats.
As far as brushes go, I used two brushes. I used this smaller brush on the posts and this larger brush on the sides and top of the deck.
FIFTH – PAINT THE TOP OF THE DECK
The most time consuming step is to paint the top of the deck. Travis helped me on this part (thank God) and we painted two coats as well. We opted for a deck stain that was more like paint and less translucent. We did this because we wanted a lighter color than our old brown stain. Our stain was BEHR SOLID COLOR WATERPROOFING STAIN AND SEALER (color: sandal).
NOTE: Make sure you pay attention to the dry time on the can. We ended up painting one coat one day and the next coat the next day. Again, we used this larger brush for the deck.
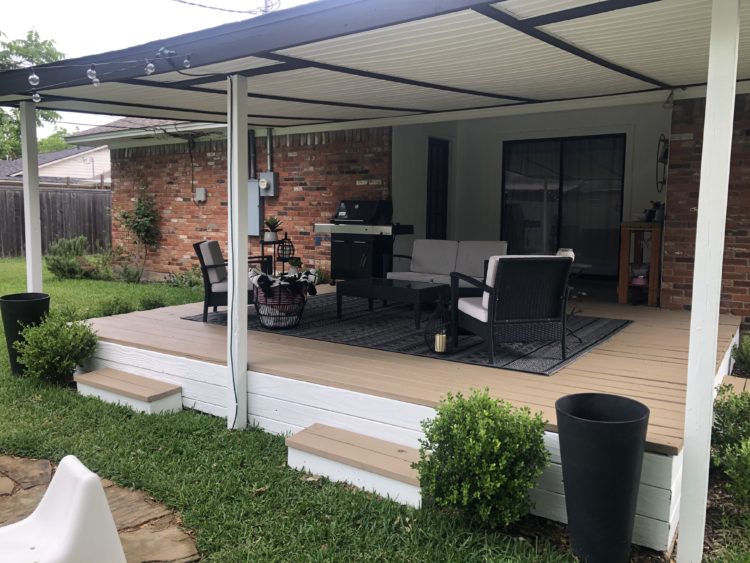
SIXTH – DECORATE!
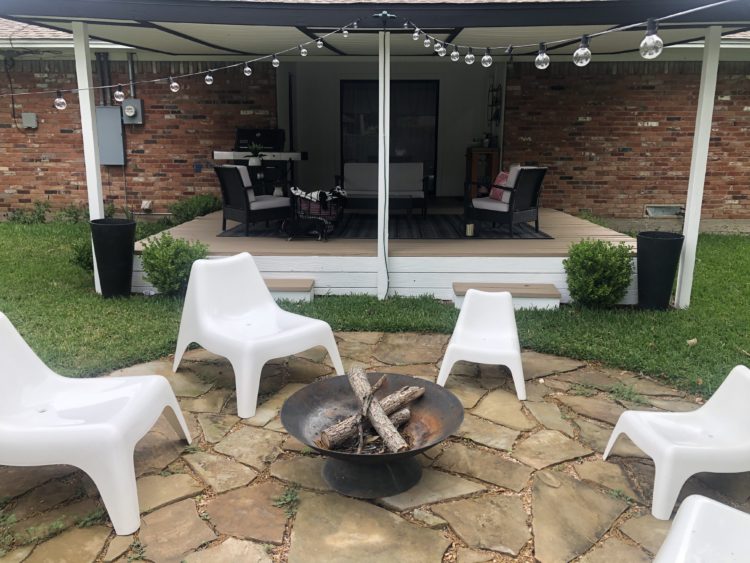
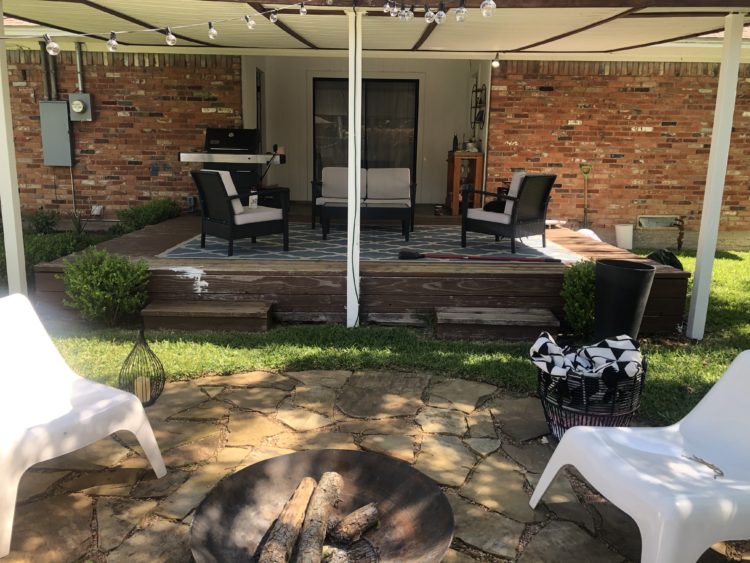
The last part is obviously the part that is the most fun – decorating! We were shocked at how much the deck paint transformed our backyard deck and we didn’t want to mess up the calm vibe with a colorful rug that didn’t fit our style. So, we ditched our rug and got this new outdoor rug for next to nothing given the size of the rug.
We will also be replacing our outdoor furniture, but haven’t agreed on how that’s going to go down yet. Travis would be fine with buying a new set, but I personally want the challenge of building it myself. We shall see… That project will have to wait until the fall though because this mama is not about to be cutting wood in 100 degree heat.