


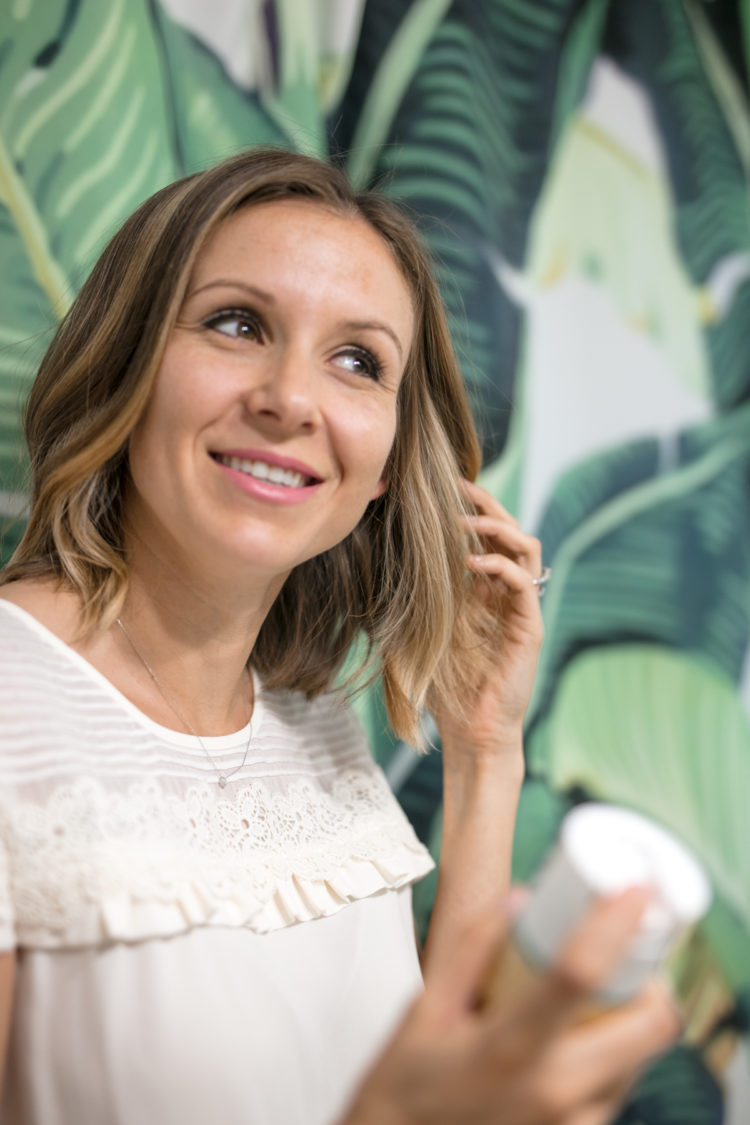
Good morning, loves!! My hair tutorial is finally here!! This has been a long time coming and one of the most requested topics lately, so I’m super excited to finally be getting this to you guys!! I have loved having my hair like this because it is one of the easiest and most effortless hair styles I’ve ever had and just a small amount of work makes a big difference!
As you scroll down, you’ll notice that I opted for photos as opposed to a video tutorial. The reason I opted to do this in photos is because I find that when I’m watching a video hair tutorial I’m constantly rewinding and rewinding small little intervals of time in order to see exactly what they’re doing in each stage of the styling. I thought having pictures might be easier to refer back to. However, I welcome any and all feedback, so please let me know if you think video would have been better. Maybe I can do an instalive or something.
Also, this post is super long. The reason being is that I broke down my hair styling process into a bunch of little steps. Now, once you get a hang of this it will take you max 15-20 minutes for the whole process. In fact, lately I’ve just been showering at night, letting my hair air dry, and then waking up and curling it (5-10 min of time) before heading out the door.
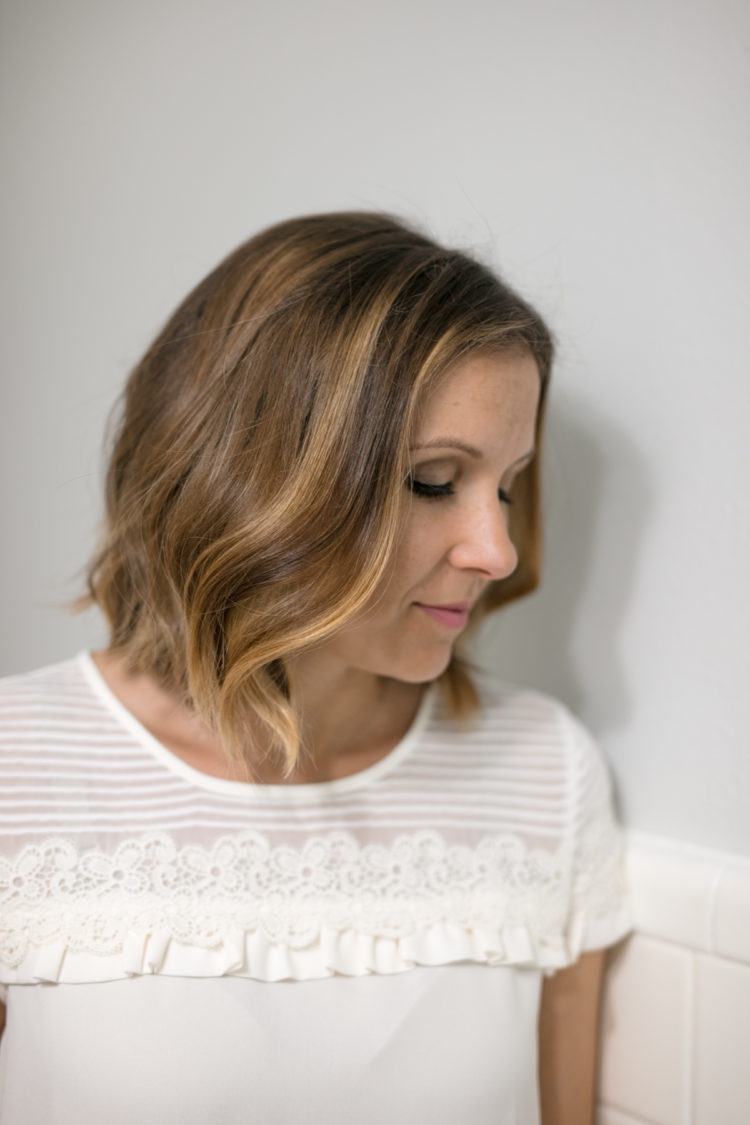
One last thing before we begin – having your hair properly cut into a long bob might be the biggest piece to this whole styling process. If you want to achieve this exact look, then having it cut so that it lays and styles right is ideal. If you’re in the Dallas area, go see my girl Whitney Haynes at FORM Salon. My husband and I have been seeing her since 2006 I think and she’s the best of the best.
Long Bog Loose Waives Tutorial:
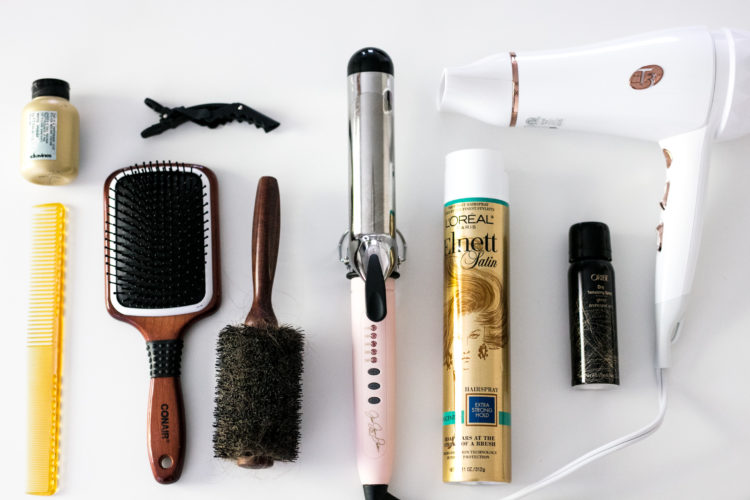
1) BLOW DRY. This is the easiest part because you can do it a number of ways. I typically wash my hair and let it air dry until it’s almost completely dry. Then I take my round brush and smooth out those pieces in the front around my face and on the top of my head. I’ve also opted not to blow dry at all and just let it dry over night and then used a curling iron to smooth out any pieces around my face that are giving me trouble. (blow dryer – I used to use a crappy one from Target, but recently started using the T3 one and LOVE it…it’s super light weight and blow dries fast!)
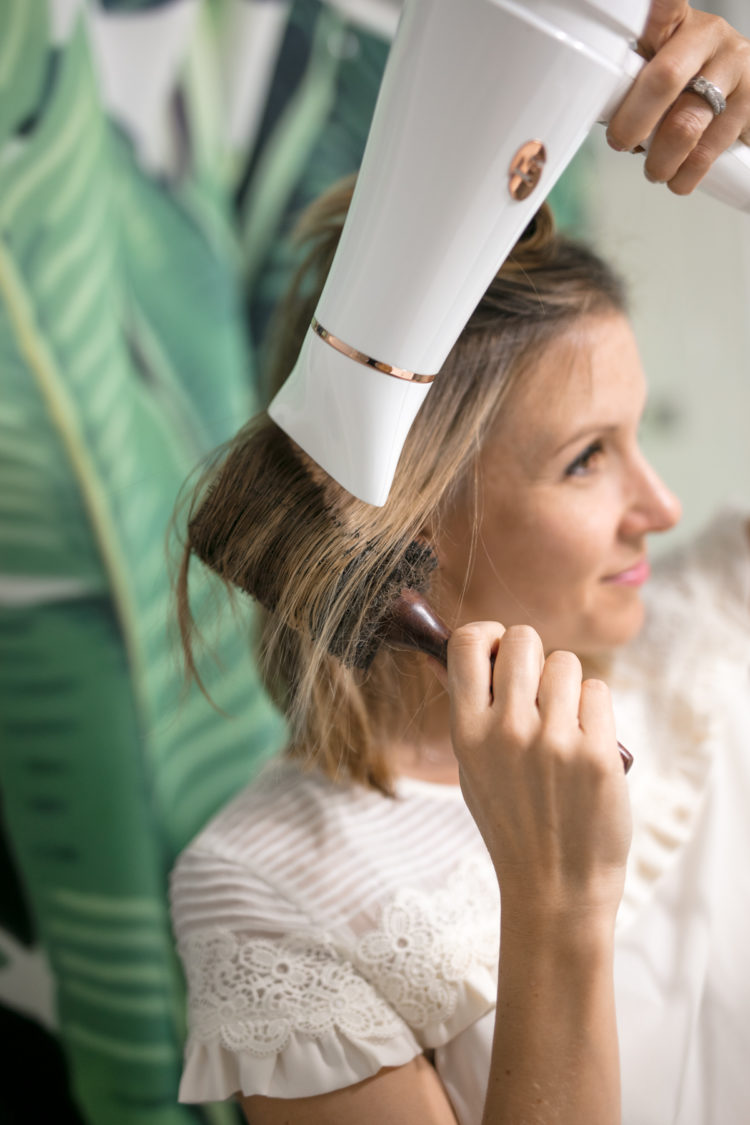
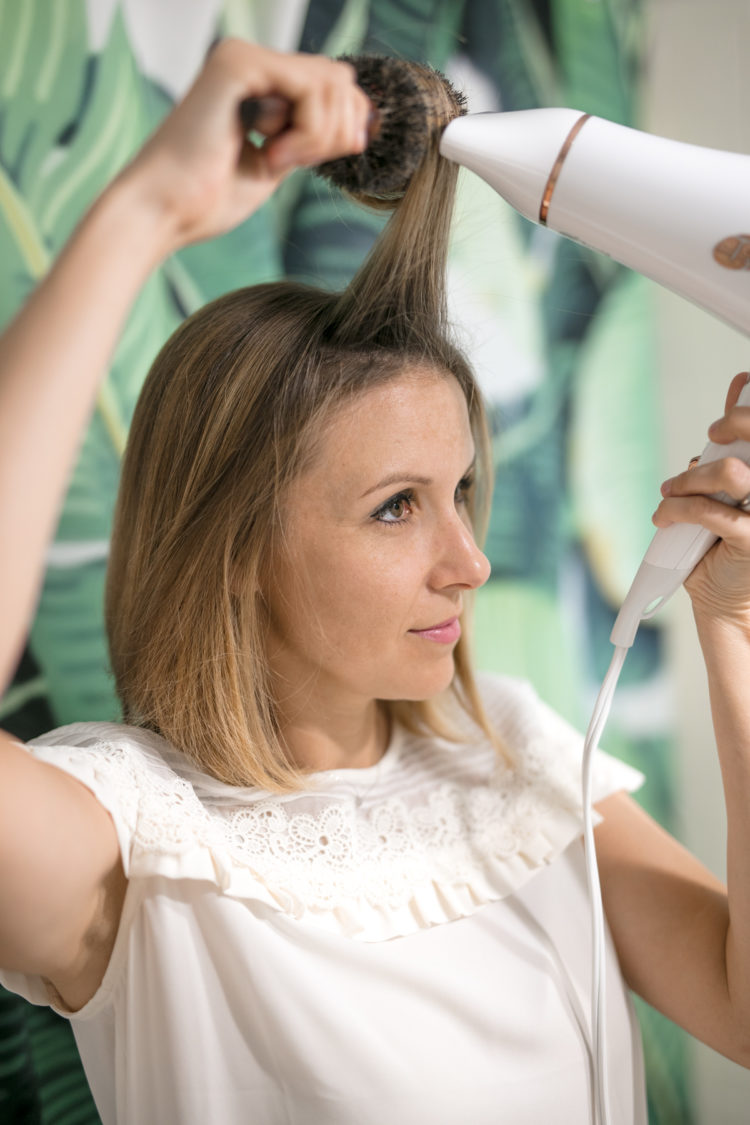
When I get to the sections of hair on top of my head I grab 2 inch chunks on the crown of my head and blow dry my hair straight up and back. This will give it additional volume, which is every Texas girl’s end goal, right? Haha.
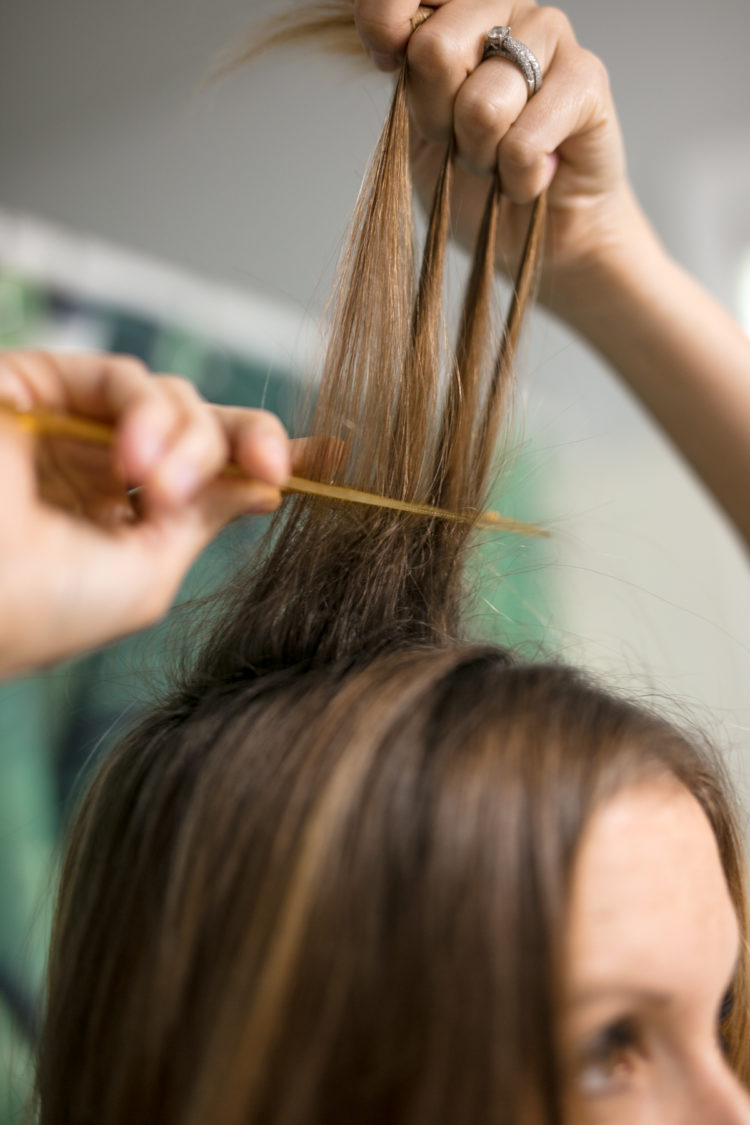
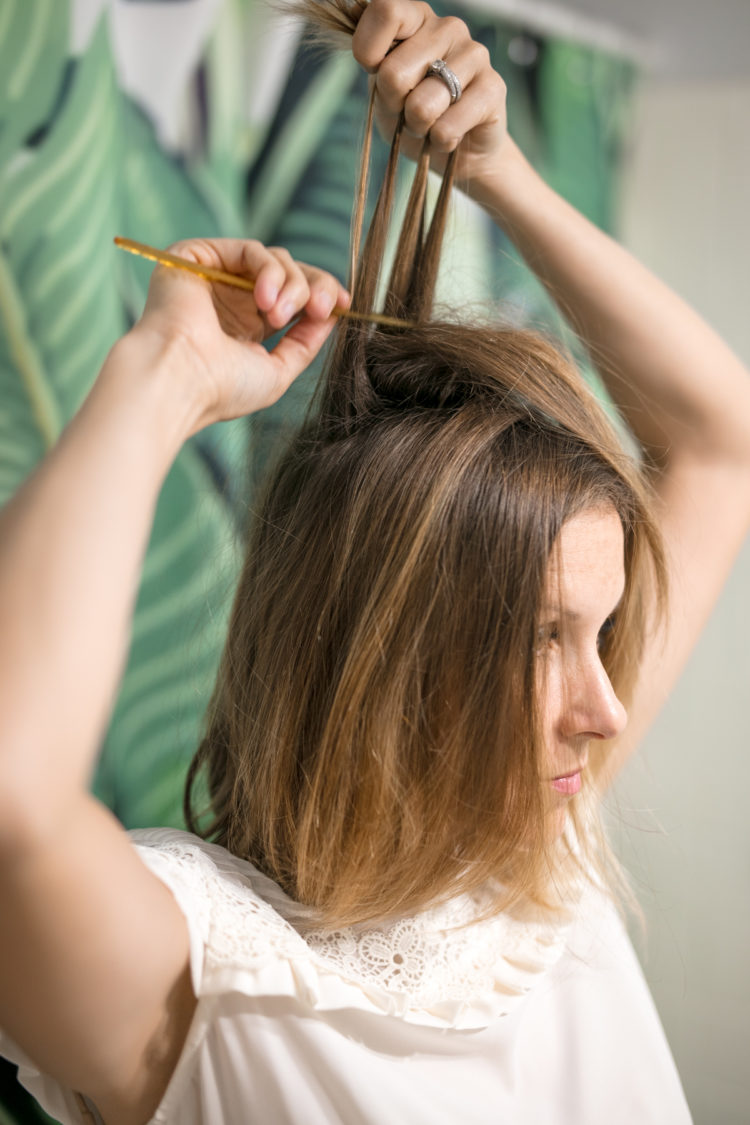
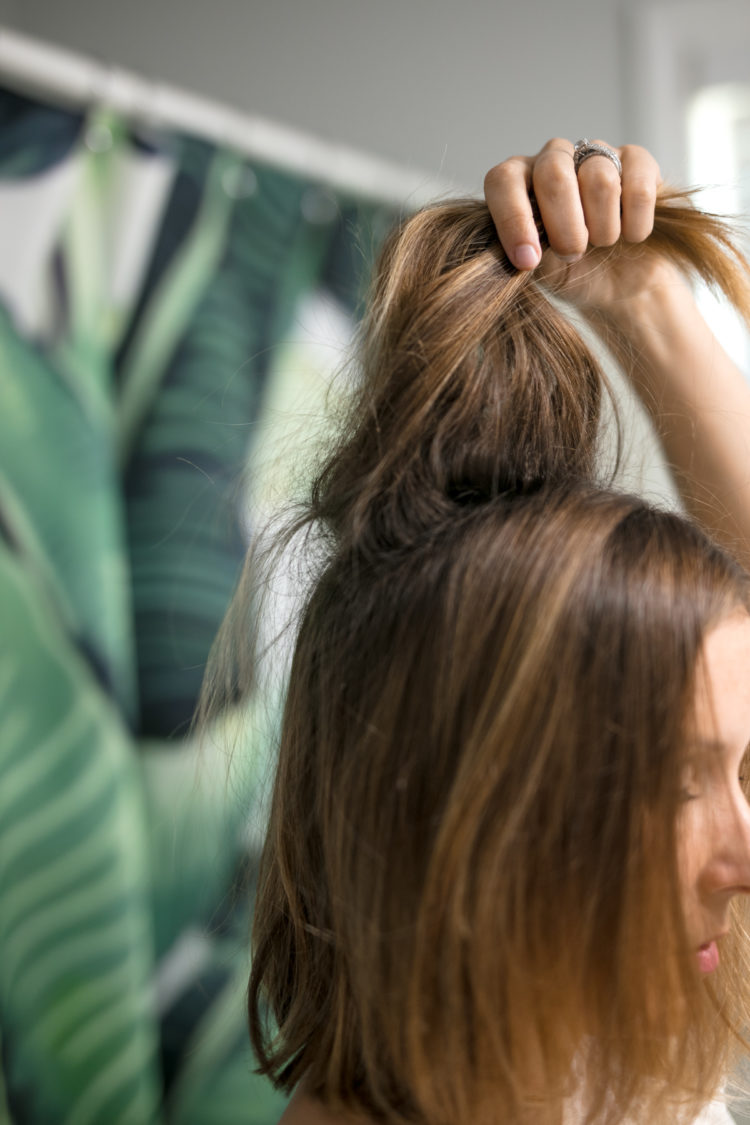
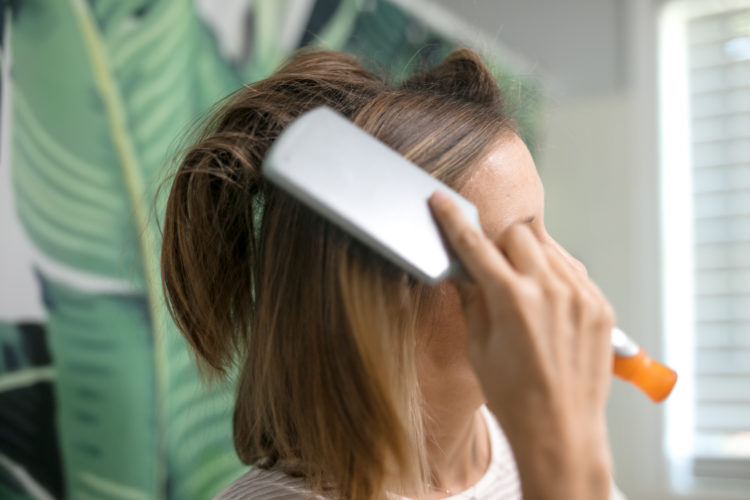
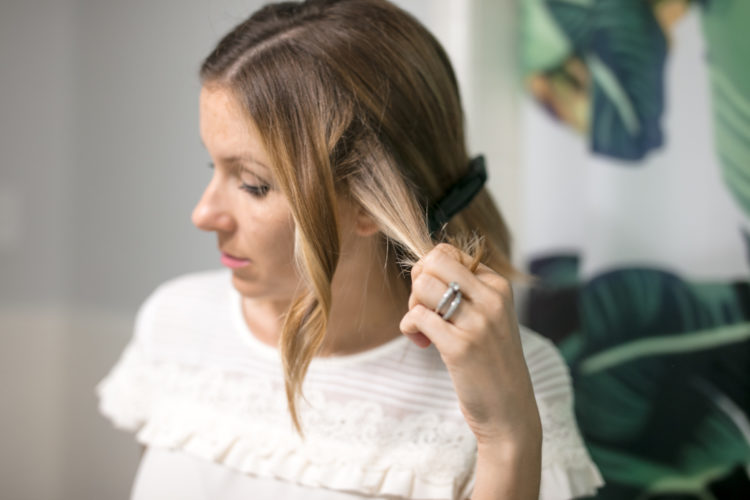
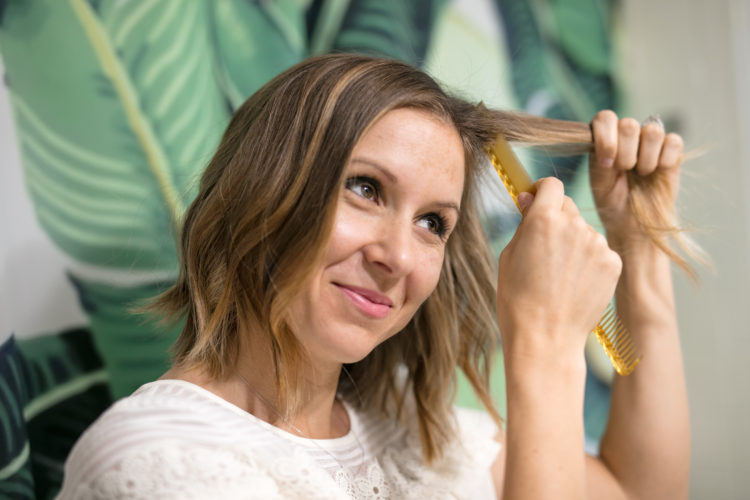
2) TEASE. I am a lover of volume, so before I start doing any styling I use my teasing comb (or my husband’s rather) and tease 3 main sections on the crown of my head. I first lift a 1 inch section on the back of my head and tease it. Then I do another layer in the back right behind it. I repeat this same process on the sides of my part as well.

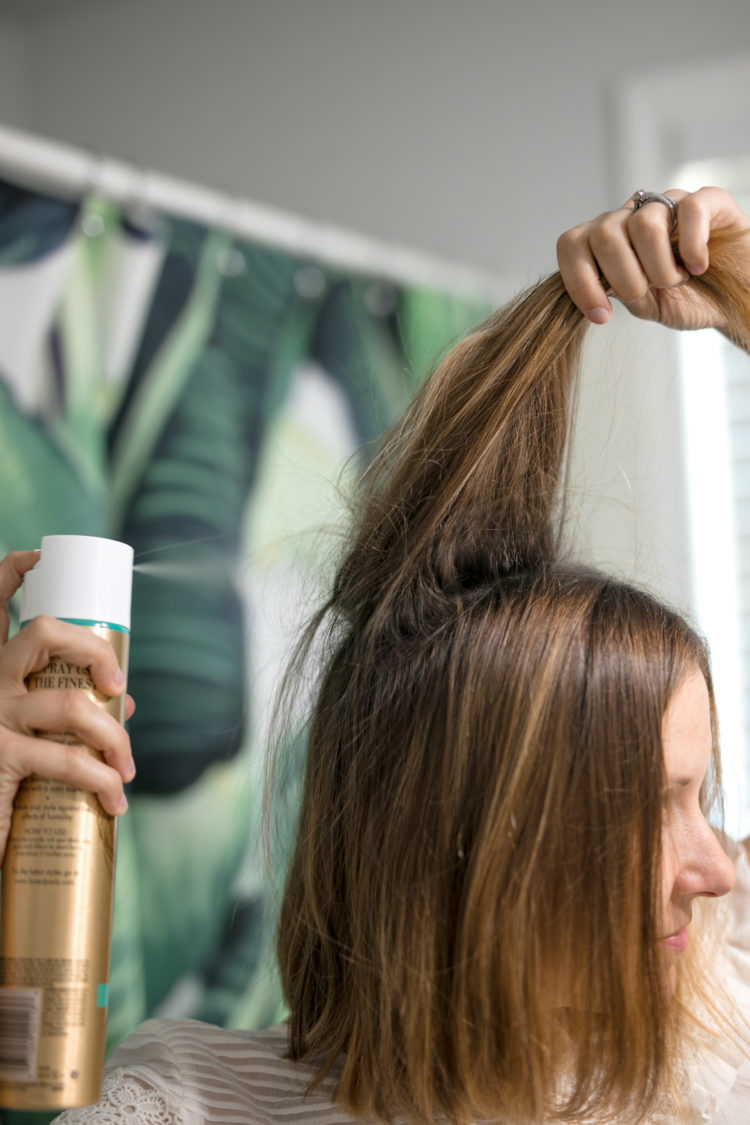
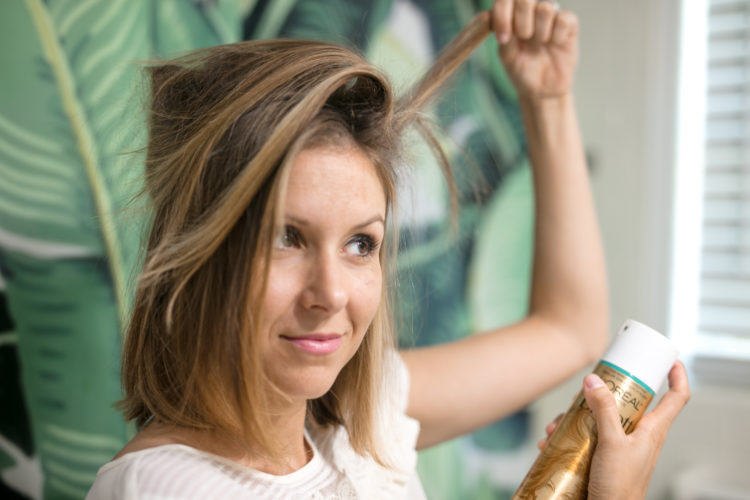
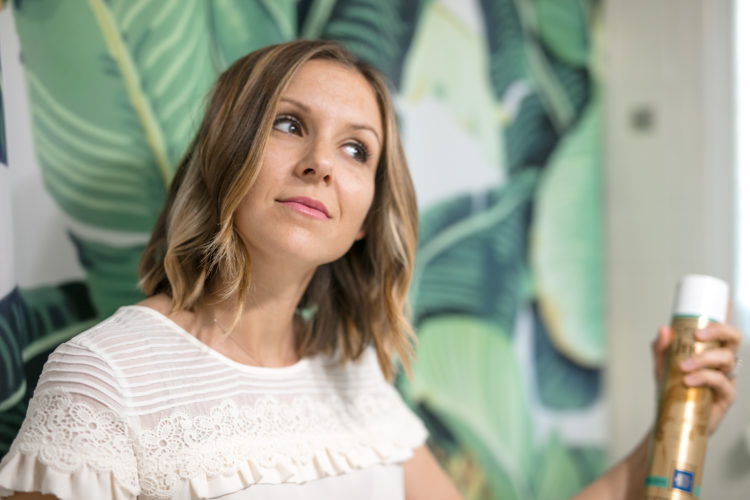
3) HAIR SPRAY YOUR TEASE. Before combing out my teased sections, I grab each of the 3 sections and hair spray each section. (NOTE: I don’t use expensive hair spray. I just use so much that I needed to find a way to save money. So, my hair stylist told me that if I was going to buy over the counter hairspray that L’Oreal Elnett unscented is the best. And it really is. It’s a strong hold without making your hair crispy and it doesn’t ever flake off on your scalp.)
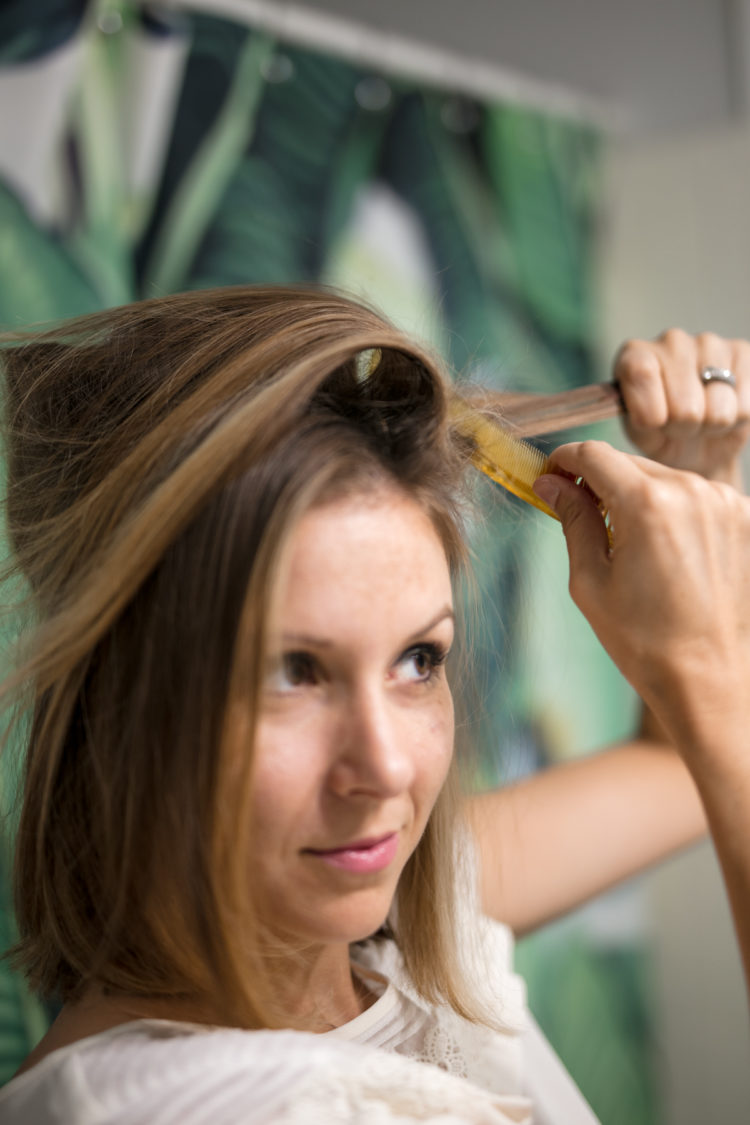
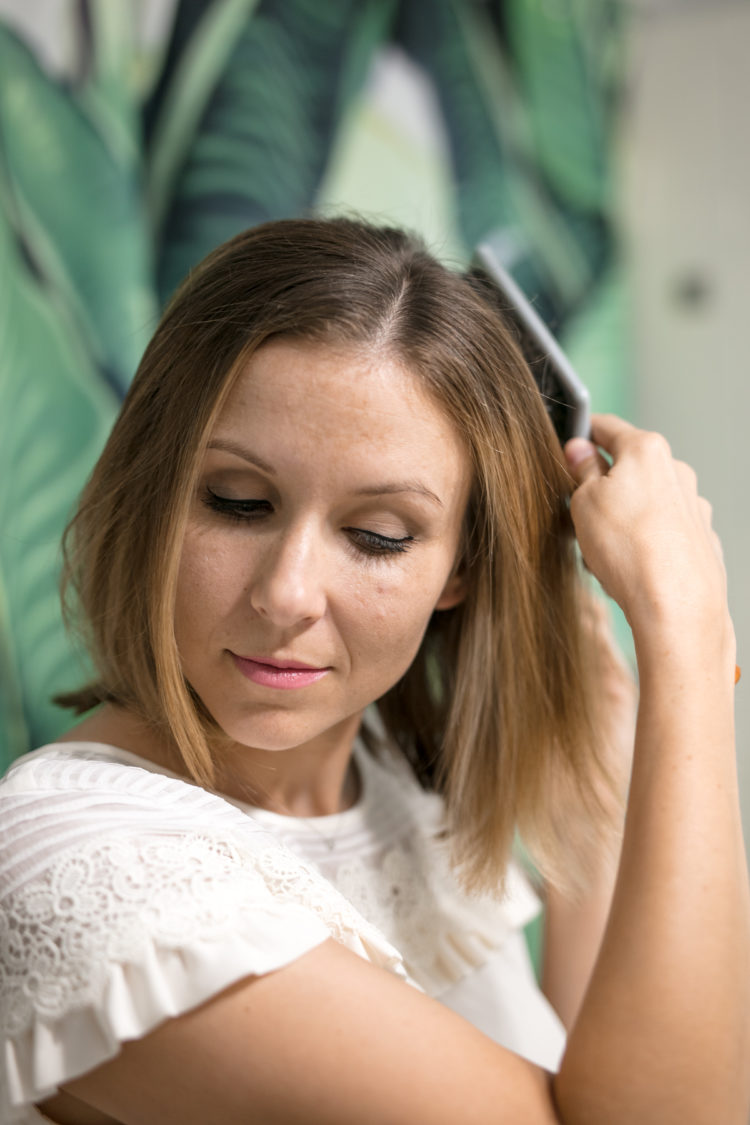
4) COMB OUT YOUR TEASE. This step is as simple as it sounds. Simply take your flat brush and gently comb over your teased sections. Don’t brush so hard that you pull out all your tease, just calm it down and smooth it out.
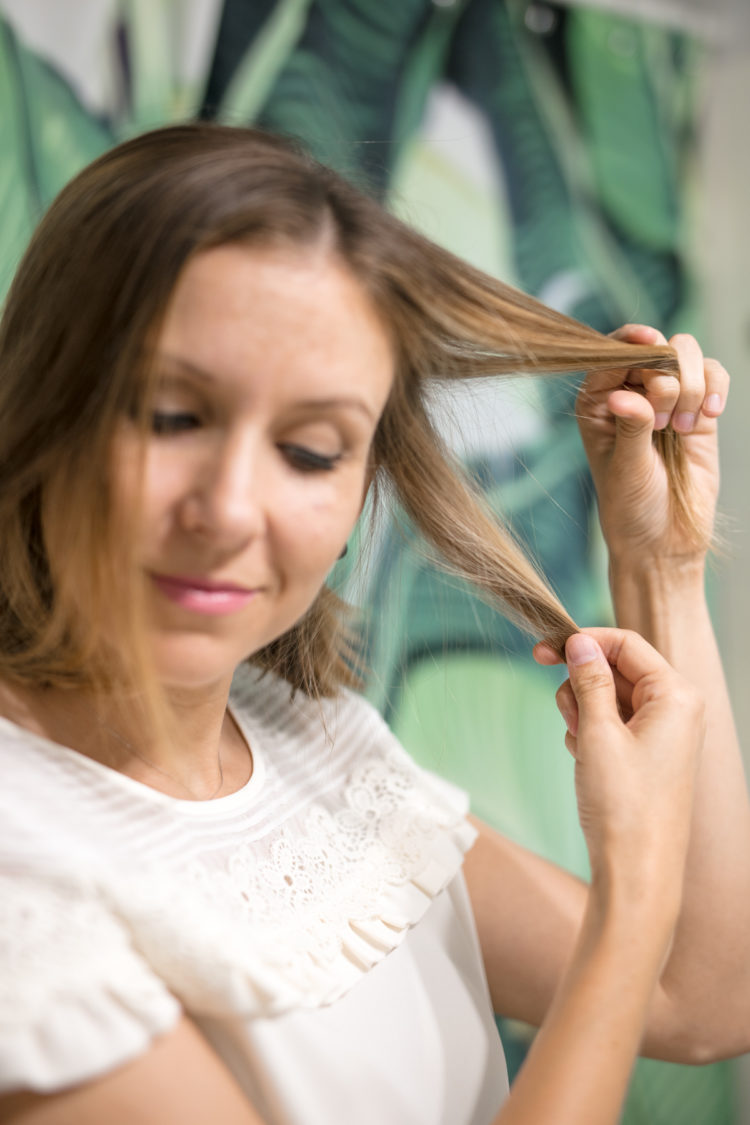
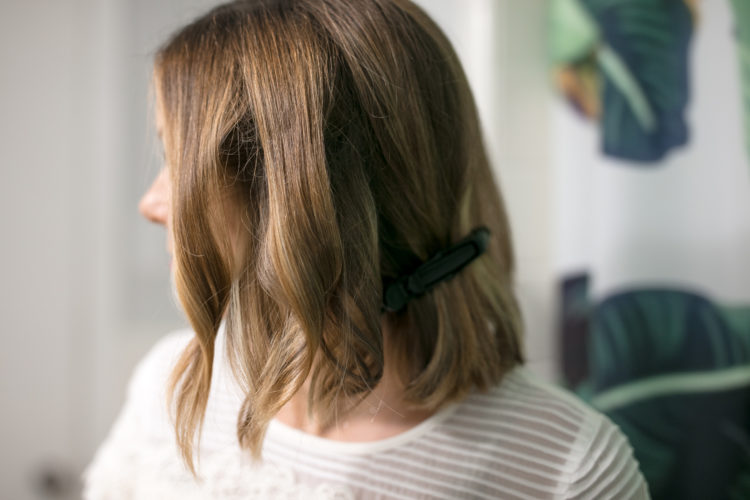
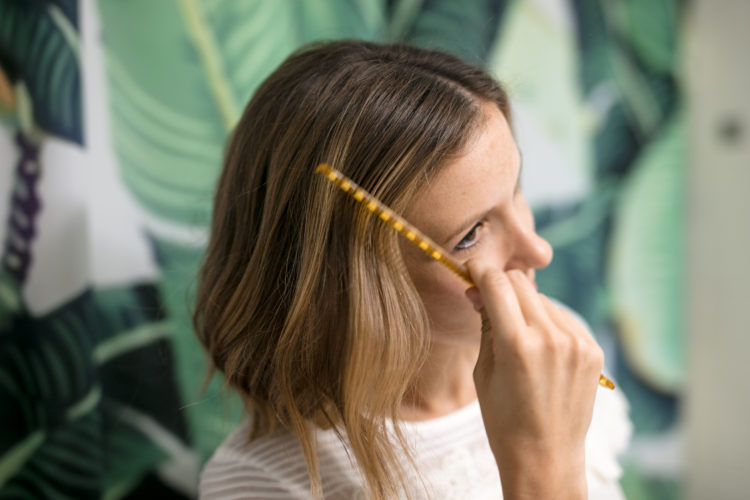
5) SECTION HAIR INTO 1-2 INCH STRIPS. For this part I always start on the front left side of my face and work my way around my whole head. No rhyme or reason for starting there, I’ve just always done it that way. Anyway, you’ll create a 1-2 inch section each time and clip the rest back and away in order to curl. In the front I usually do a larger section since my hair is a bit thinner and then do 1 inch sections in the back where it’s thicker. I use this professional clip because it holds so well, but any clip will do.
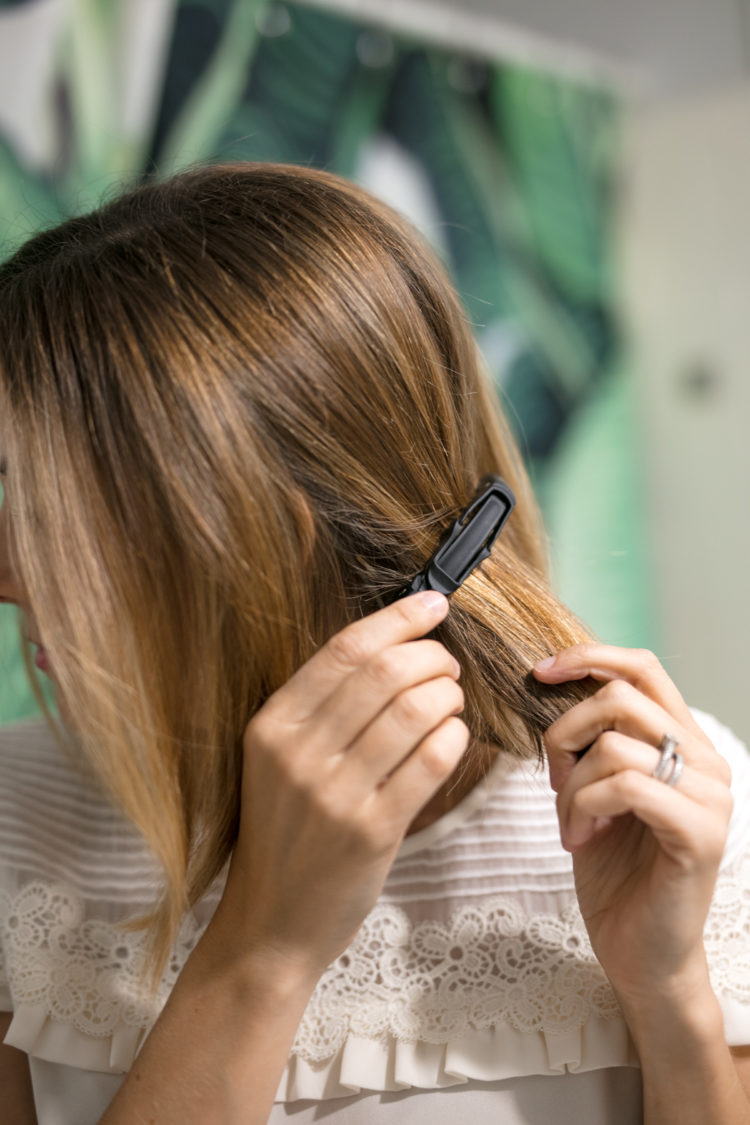
6) DIVIDE EACH SECTION IN TWO. Then, divide your 1 inch section into two sections – one on top and one on bottom. Once you’ve divided it, drop the bottom half down and hold the top half to start the curling.
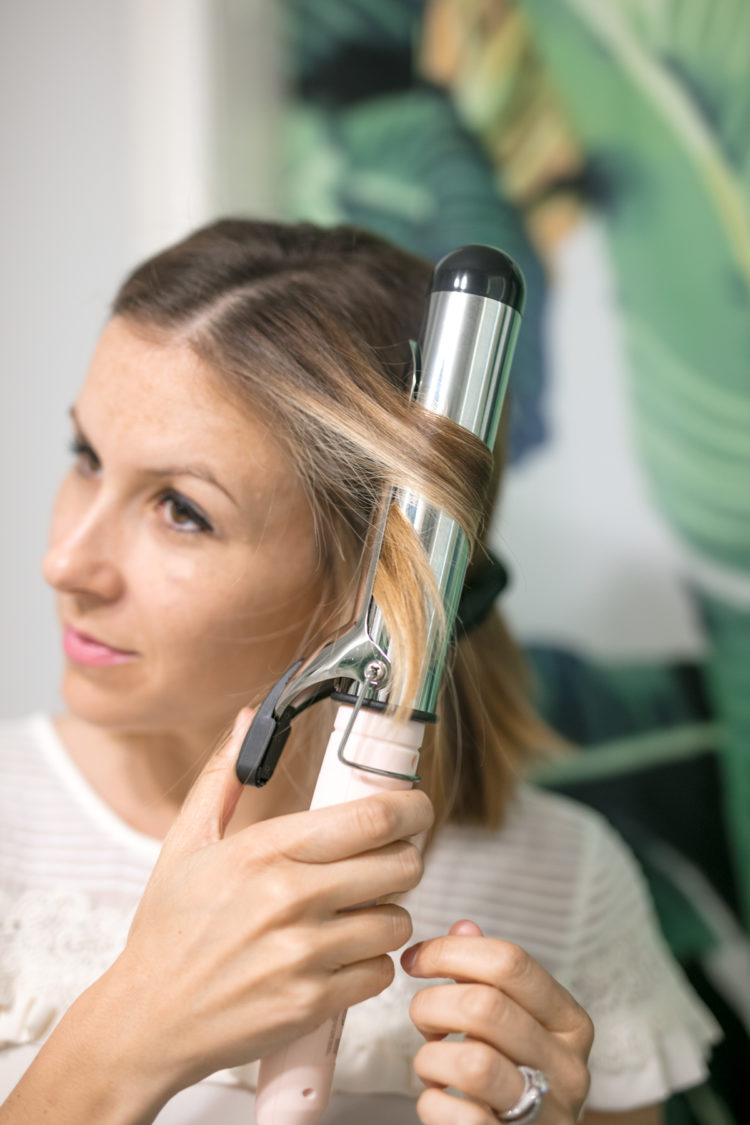
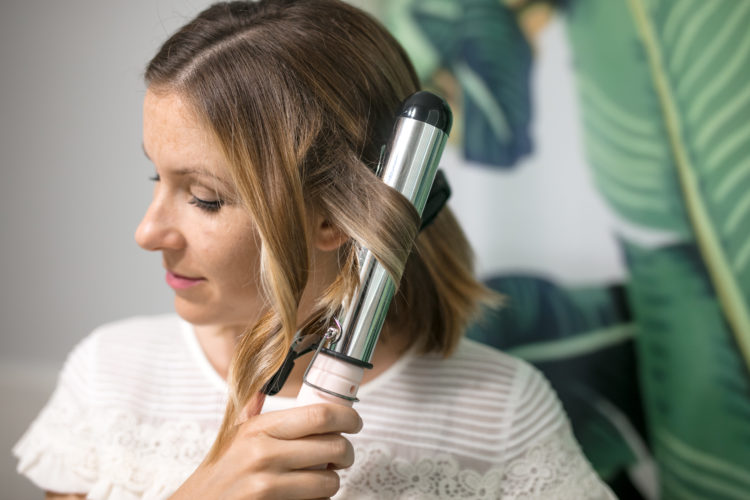
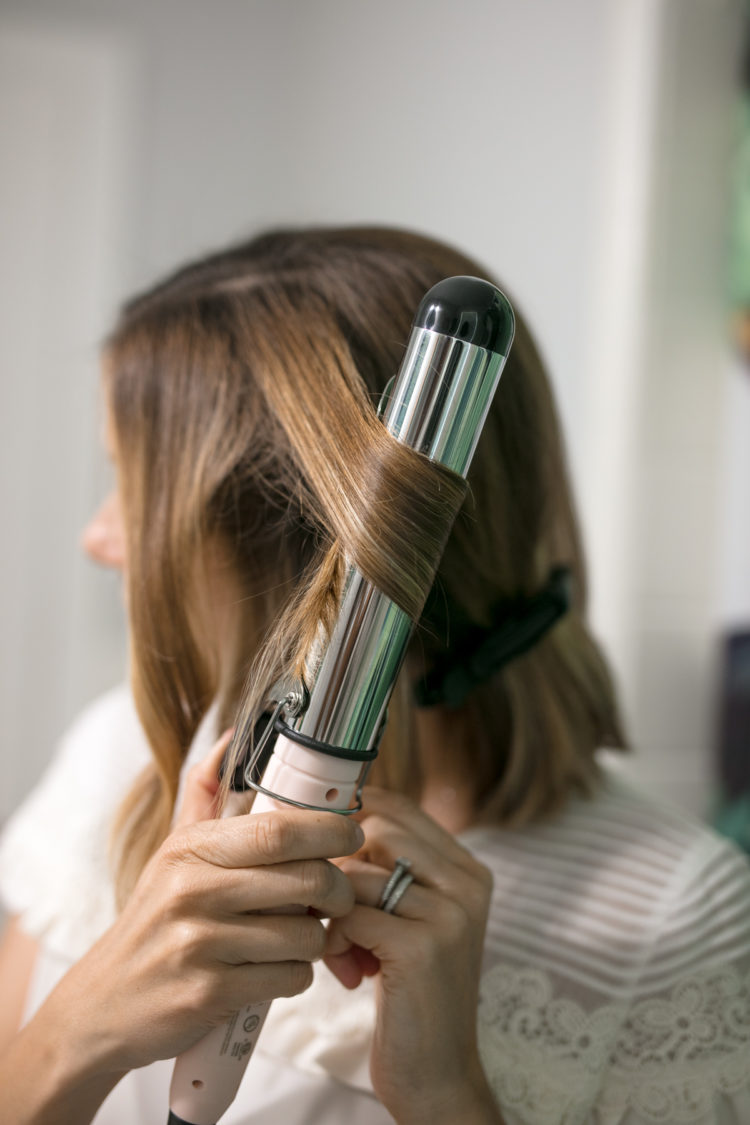
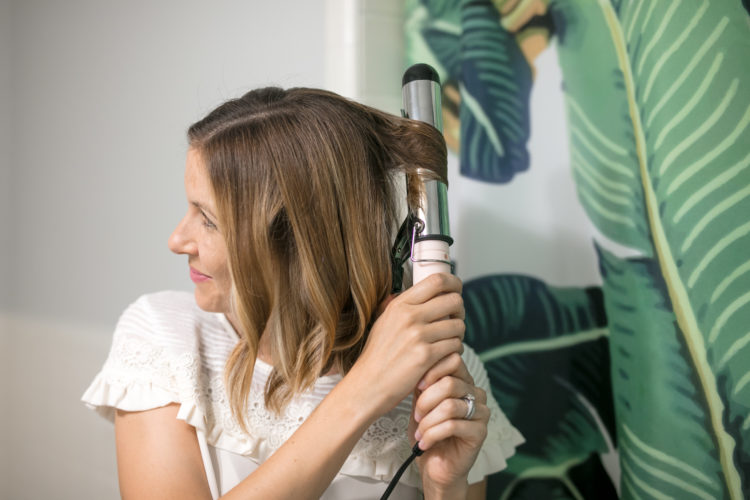
7) CURL EACH SECTION. Now comes the tricky part. Just kidding! It’s so easy, y’all. Okay, so hold your section away from your face with your hand and then grab your curling iron with your dominant hand. NOTE: you ALWAYS curl away from your face.
Okay, so take your curling iron and clip it in the middle of your section facing away from your face. Then curl it around once away from your face. Hold it there for 5-10 seconds depending on how hot your curling iron is. I always use the hottest setting. You should have about 1-2 inches of hair sticking out of the bottom of your curling iron. Then simply let go of the hair with the curling iron and let your section of hair drop. Grab the next section of hair and repeat this process.
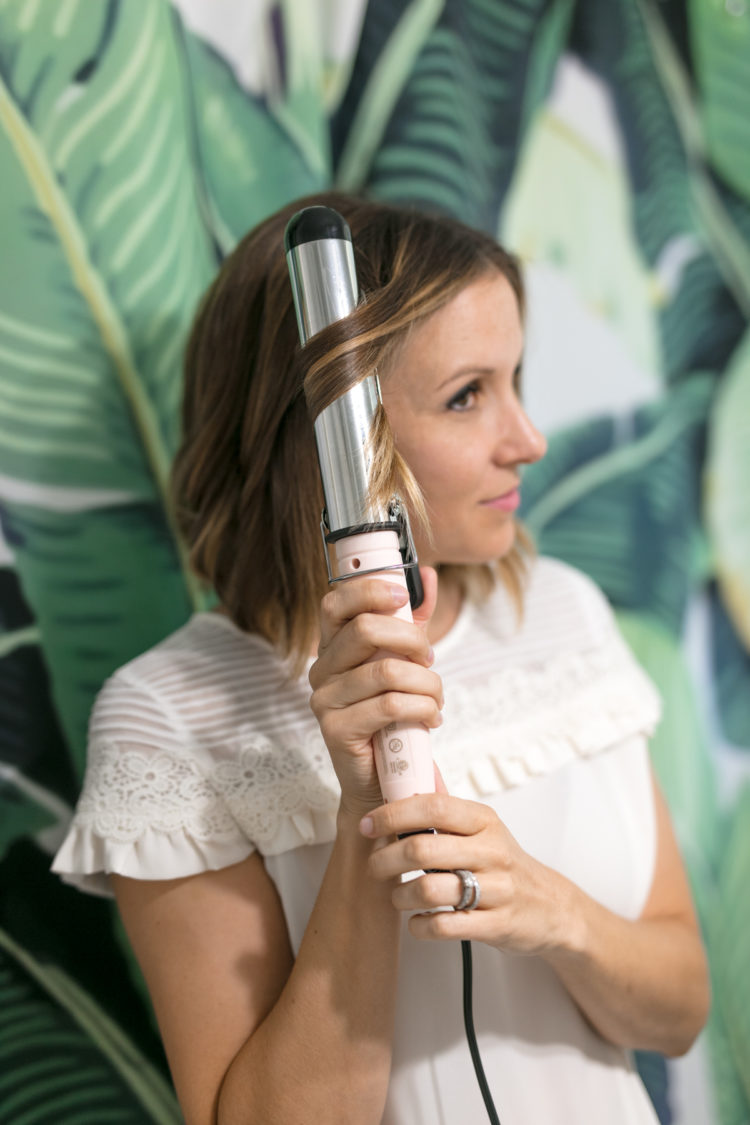
NOTE: I use a 1 inch curling iron most days, but in this tutorial I used a 1.5 inch. The bigger the barrel the looser your curls will look.
8) CONTINUE PROCESS AROUND ENTIRE HEAD. Repeat this process around your head, leaving the curled pieces in place as you go around. Don’t touch them or spray anything on them yet.
9) HAIRSPRAY WHOLE HEAD. Once you’ve curled your entire head (curling away from face) in one inch sections, then hairspray your whole head. I spray on the outside and spray up underneath as well.
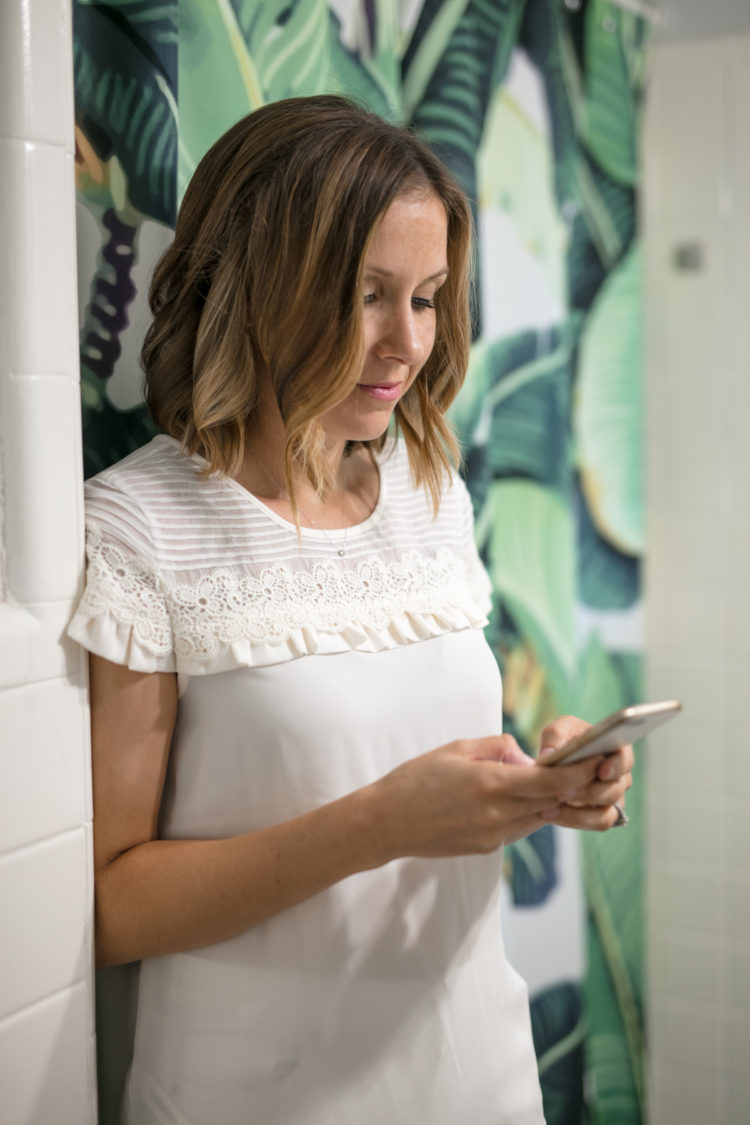
10) LET YOUR HAIR REST. Then let our hair rest and let the hairspray do it’s job. I typically get on social media during this part, throw in a load of laundry, or get my kids ready while I wait.
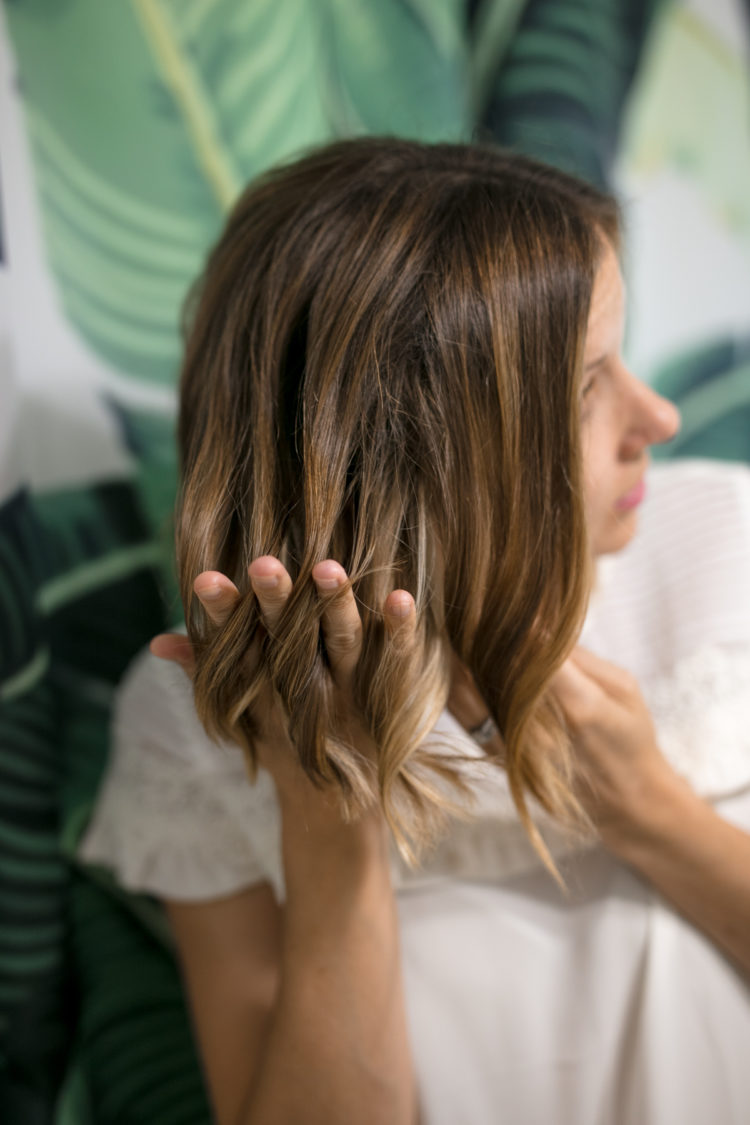
11) COMB THROUGH HAIR TO PULL OUT CURLS. This is the part where you will go from a defined waive to a loose waive. Simply take your fingers and run them through your hair pulling out the curls. Do this around your whole head.
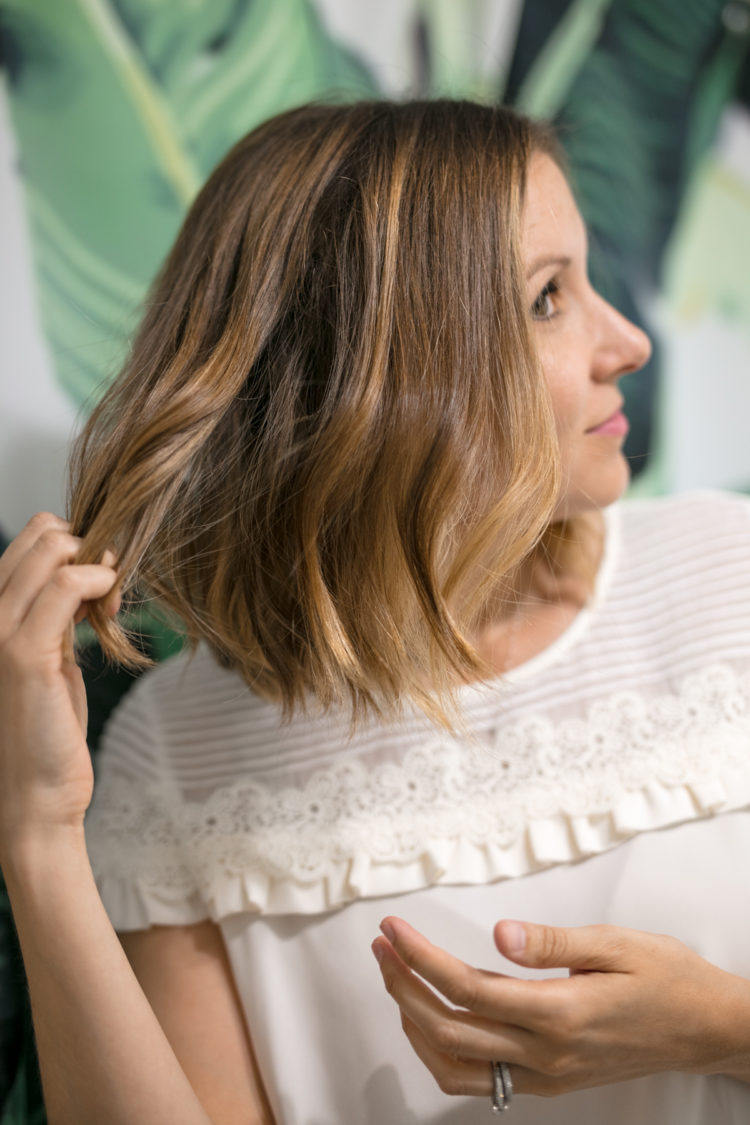
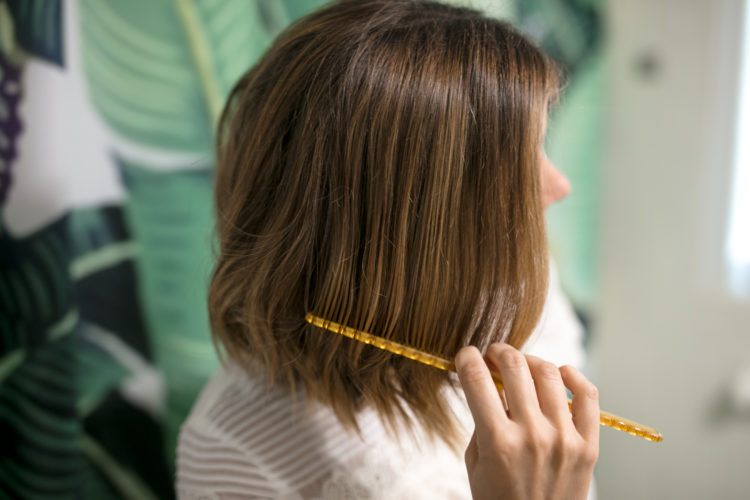
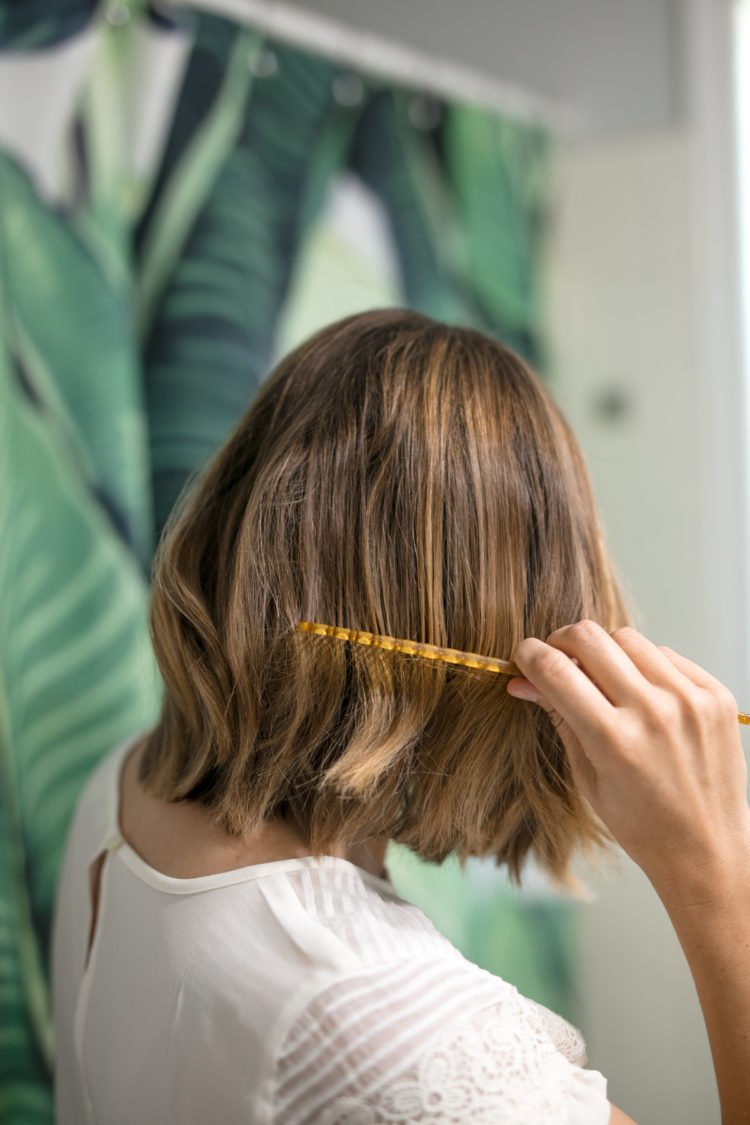
12) RETEASE. You may not need to, but if you have finer hair, you may need to re-tease parts of your hair. I typically re-tease just the little sections on the front of my hair. Then loosely smooth over hair with a comb or brush. Again, this is a very LOOSE brush over simply to comb down any flyaway pieces. I usually use a wide tooth comb or brush.
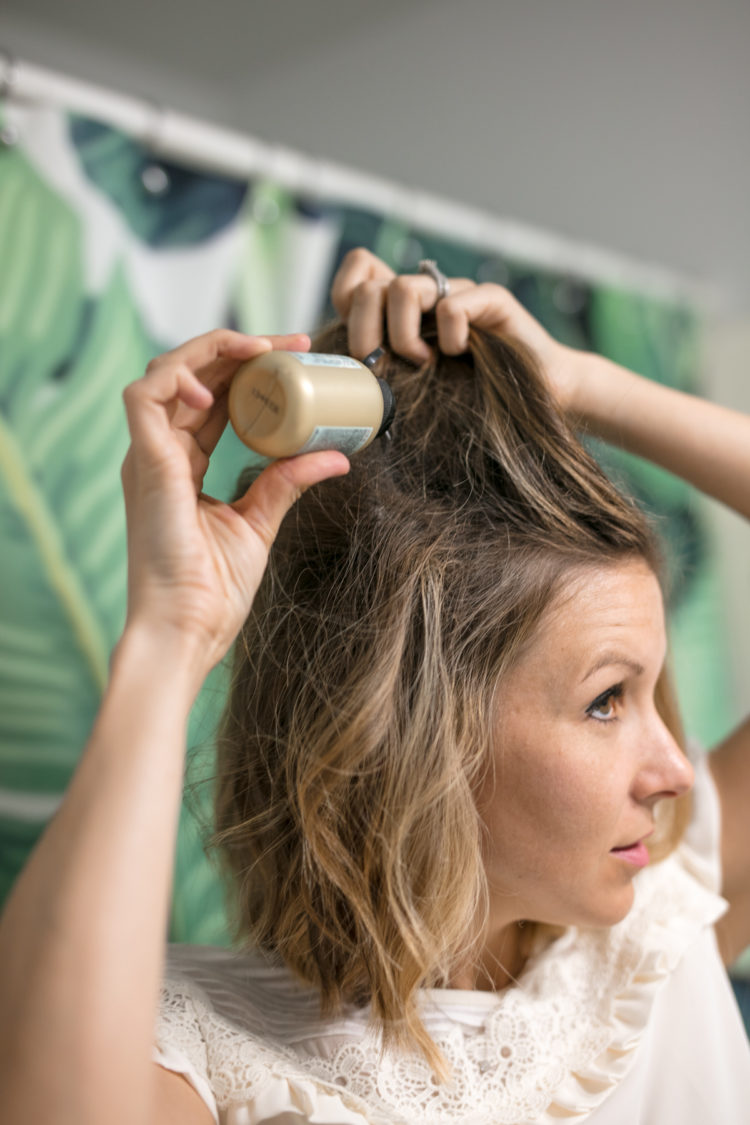
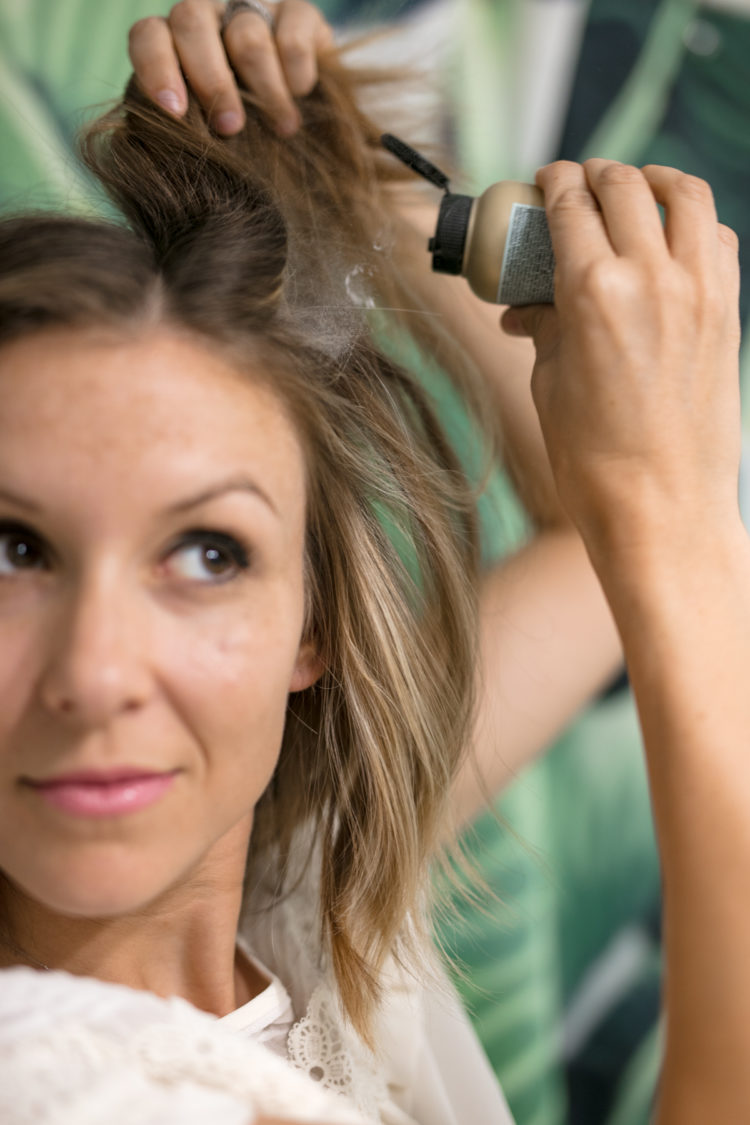
13) ADD TEXTURIZING DUST AKA MAGIC DUST. Is this texturizing dust my favorite product ever? Maybe. It is such a great way to add volume and the best part of this is if you use this powder, it will help preserve your curl and makes it a whole lot easier to re-curl the next day.
So, grab a section at the top (I do one section on either side of my part and then one section in the back), shake the dust with your hand, and then pour a little onto each section. It looks white in the air but goes on translucent.
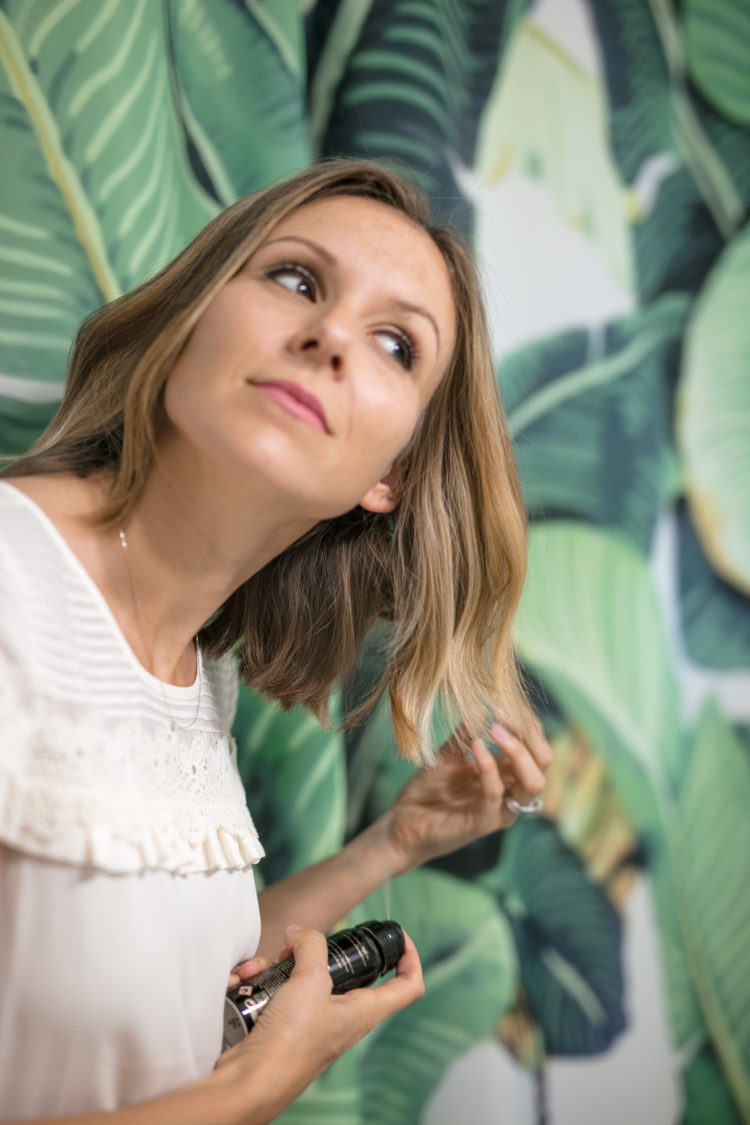
14) SPRAY TEXTURIZING SPRAY UPWARD. This is my other favorite product. I could not live without this texturizing spray because it makes this whole process. Use this spray and shoot a couple sprays upward all around your hair. This is what will separate your hair and make it look loose and not so polished. You don’t need very much, but you be the judge on how much you want to use. I usually carry the travel size in my purse just in case I need a touch up later on in the day.
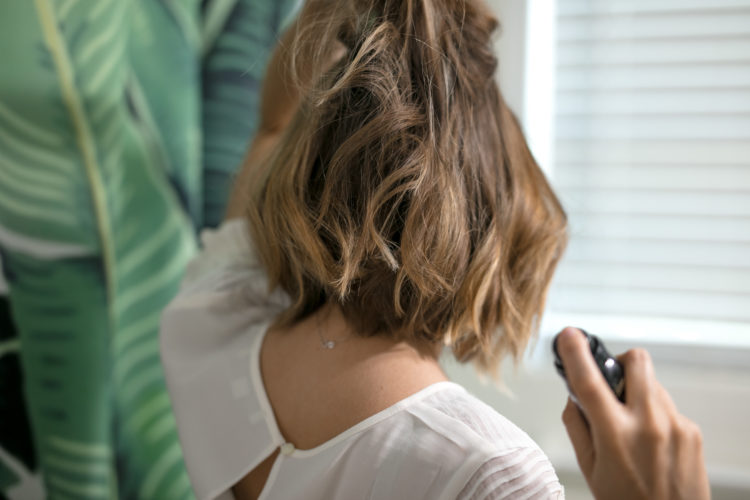
15) HAIR SPRAY FOR THE FINAL TOUCH! I don’t spray too much here, but do a light mist around my head and then spray the front pieces on left and right away from my face in order to keep them away from my face.
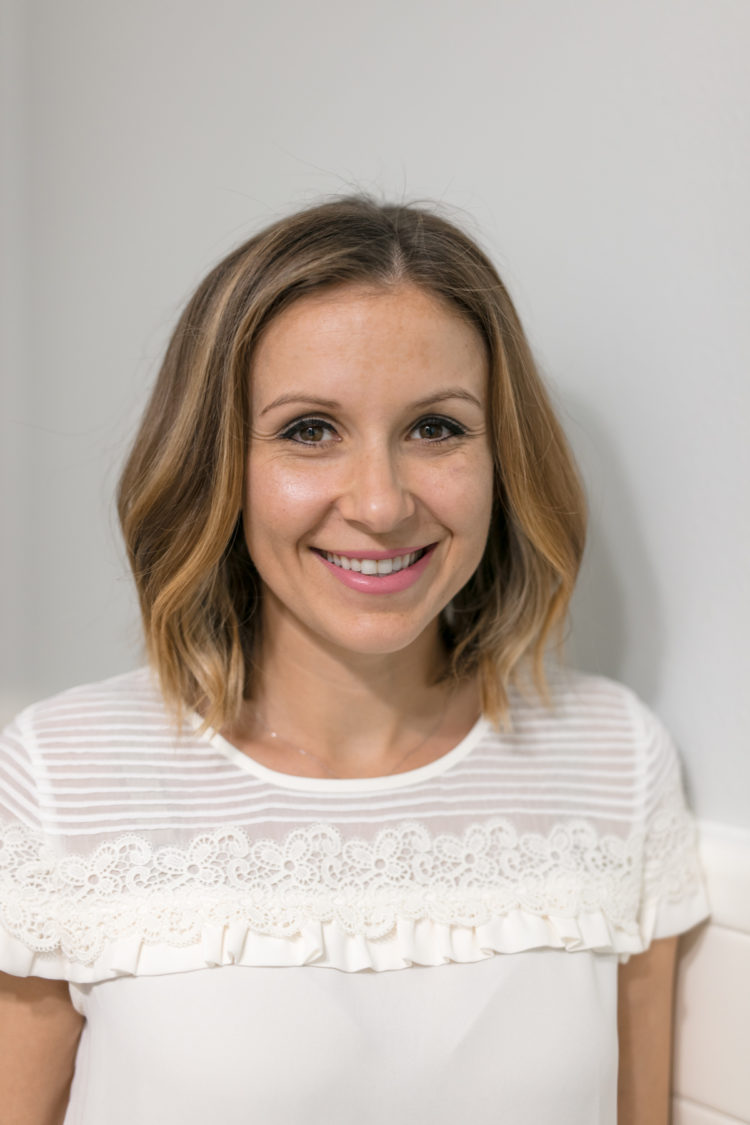
YOU’RE FINISHED!!!
Thank you so much for stopping by today and please let me know if you have any questions or if I didn’t explain something clearly enough. As I mentioned above, too, I would be happy to do a live tutorial if that’s something you guys think may help! Just let me know! xx
photography: fort lion studio


