


Happy Thursday, babes! We’ve almost made it through yet another week of quarantine. Despite not being able to leave the house, the week days have seemed to fly by. However, last weekend I learned that weekend days feel a lot like week days. Anyone else feel like that? In an effort to differientiate weekend from week, I told Travis I need to do a home project each weekend. It doesn’t have to be a major project, but something that gets me outdoors and occupies my mind in a different way. Things like staining our deck, painting our kitchen island, mulching the flower beds, you get the point.
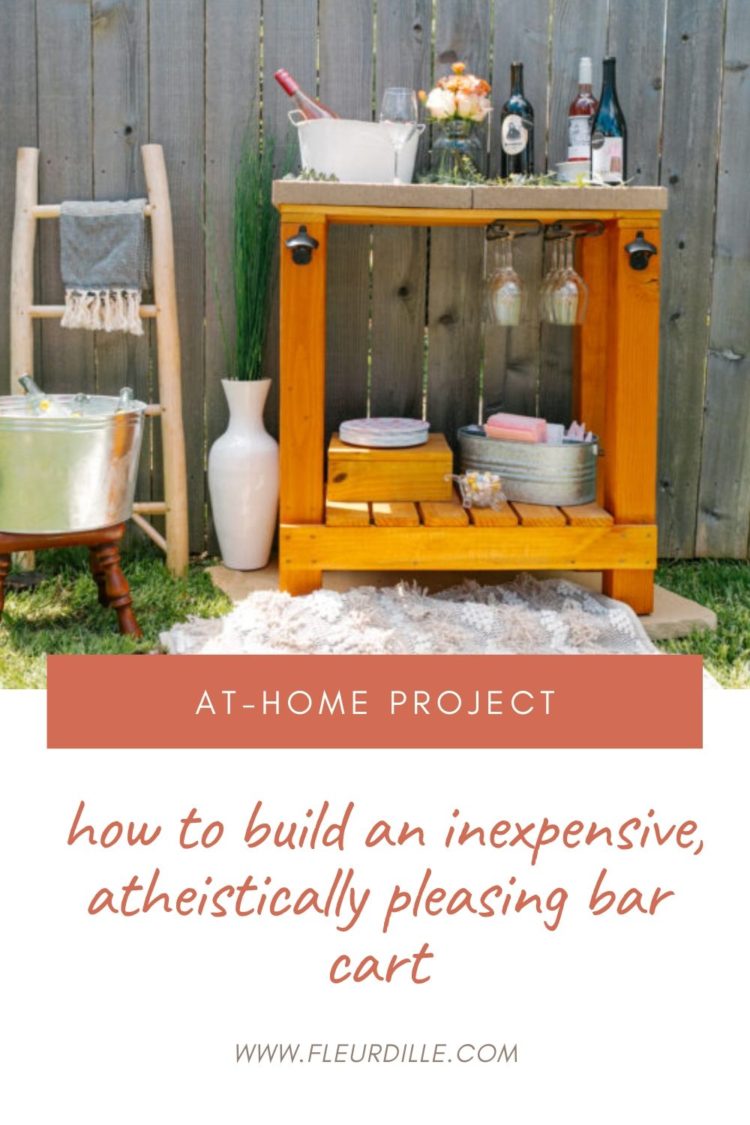
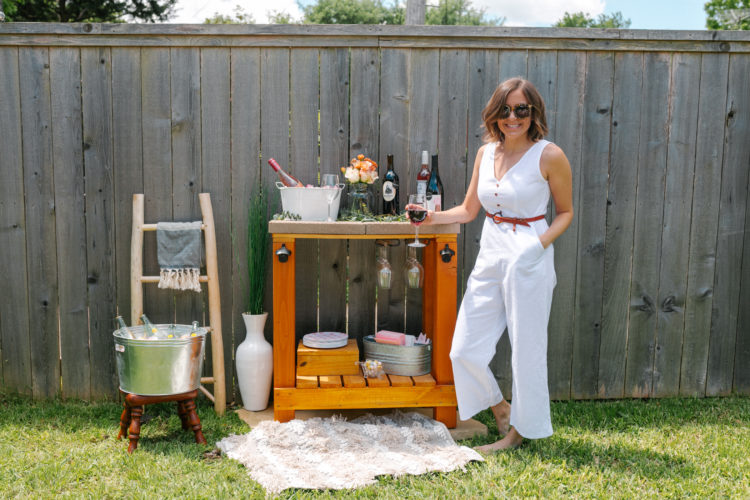
If you’re looking for a home project too, I wanted to share one we did last summer that was super simple and so gratifying. Last summer we hosted a couple backyard wine nights and wanted an outdoor bar cart for the festivities. We found a simple outdoor bar cart tutorial from a magazine and Trav built it in just a couple of hours. The best part too is that it costs hardly any money!
how to make an aesthetically pleasing bar cart:
MATERIALS:
- two 16 inch square concrete pavers
- (4) 4 x 4 cedar boards for the legs (32″ long)
- (6) 1 x 4 cedar boards for the top and sides (31″ long)
- (8) 1 x 4 cedar boards for the sides and shelf (15.5″ long)
- wineglass holders
- bottle openers
HOW TO:
- Put the 4×4 cedar posts upright and connect the front two posts with a 31″ long 1×4 board. The board will be — inches from the ground and connect using 4 nails in each post (see picture below).
- Repeat this step for the back two posts.
- Next connect the front left and back left post by placing a 15.5″ board on top of them.
- Repeat with the front right and back right posts.
- Assemble the shelf. Place the remaining 6 15.5″ boards evenly across the bottom slats and nail them in place.
- Take the 4 31″ boards and lay them evenly across the top horizontally. Nail them in place.
- Once your bar is completed, lay the paver stones on top.
- Add any accessories you want. We added wine racks and bottle openers.
bar cart accessories:


